 |
1. About this Document
1.1. Purpose
This document provides a brief overview of the changes made between V1.35 and V1.36 of GoTechnology hub2, along with where further details of each change can be found within the updated functional specification, in addition to a listing of completed bug fixes and known issues.
2. Fixed Issues
The following issues have been fixed in version 1.36 of hub2
|
Case |
Title [sic] |
Details |
|
Case No |
Title |
Details |
|
948 |
Kanban Board on Skyline showing wrong ITRs |
Sometimes Tag ITRs were appearing on the Kanban Boards in the Skylines which did not belong there. This has been fixed so that only the appropriate handovers are displayed. |
|
939 |
Procedures Report Error |
There was an issue with the Procedures Detailed Report where it would sometimes return only a single Procedure per System. This has been fixed so that all appropriate Procedures are included in the generated report. |
|
912 |
File Download Sizes |
There was an issue where generated Digital Document file sizes had become much larger than in previous versions. This has been fixed so that PDF files are now small again. |
3. Known Issues
A full list of “Known Issues” can be found at https://qedi-gotechnology.github.io/
4. Features
The following functionality has been added in v1.36:
5. Companion Application Features
Version 1.7 of our GoTechnology hub2 Companion Application has also been released alongside GoTechnology hub2 v1.36. The following new functionality has been added to the App.
· Search Punch List Items
· My Punch List Items
· View Punch List Items and their Attachments
· Add Punch List Item
· Add Image to a Punch List Item
· Assign Punch List Items
· Edit Punch List Item
· Sign Off Punch List Items
The application can be downloaded from the App Store or the Google Play Store at the following links
· Apple: https://apps.apple.com/us/app/gotechnology-companion-app/id1485718605
· Google: https://play.google.com/store/apps/details?id=com.wcs.hub2DigitalDocuments&hl=en_GB
5.1. Search Punch List Items
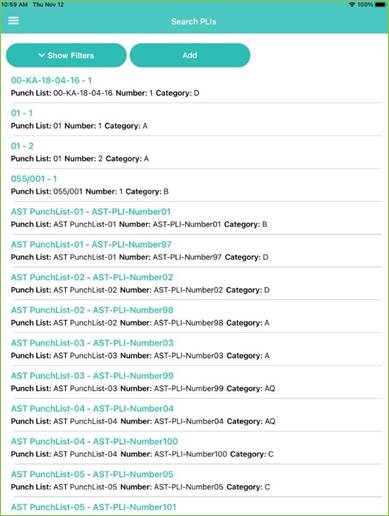
Figure 1. Searching Punch List Items
Punch List Items can now be viewed on the app. These can be found in the menu under “Search PLIs”. Tapping the “Show Filters” button displays a selection of options to filter the displayed list of Punch List Items.
5.2. My Punch List Items
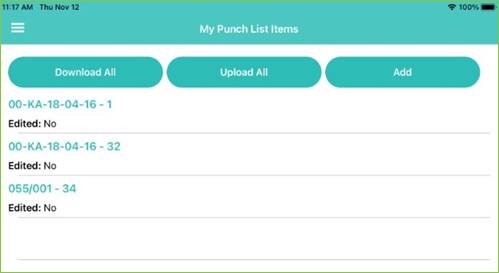
Figure 2. Viewing list of Punch List Items assigned to you
The Punch List Items that have been assigned to you can be viewed easily in a separate list, through the menu under “My Punch List Items”. They can be downloaded and uploaded from this screen.
5.3. View Punch List Items and their Attachments
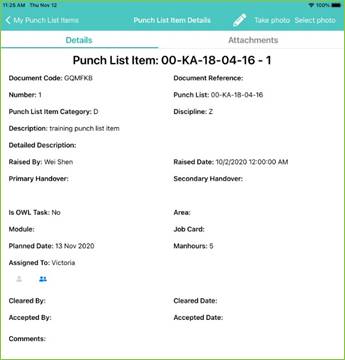
Figure 3. Viewing the details of a Punch List Item
Tapping on a Punch List Item displays its details.
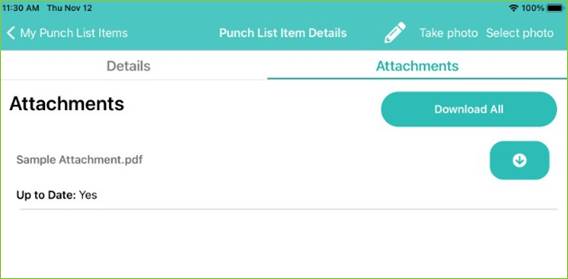
Figure 1. Viewing a Punch List Item’s Attachments
To view any attachments associated with the Punch List Item, tap the Attachments tab. Attachment files may be downloaded to the device from here, either all at once, or individually.
5.4. Add Punch List Item
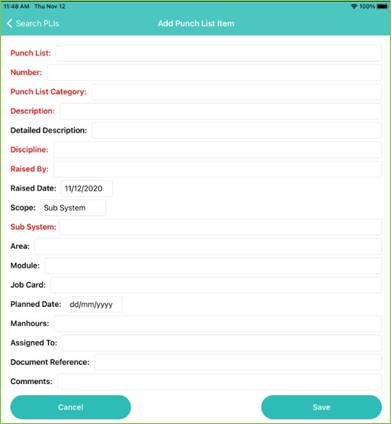
Figure 2. Adding a new Punch List Item
Punch List Items can now be raised without being associated with a Tag ITR on the app. To raise a new Punch List Item, go to either the “Search PLIs” screen or the “My Punch List Items” screen and tap the “Add” button.
Required fields are displayed in red until they are populated.
The Scope field can be used to associate the Punch List Item with either an existing Tag ITR, or a Tagged Item or a Sub System.
5.5. Add Image to Punch List Item
To add an image to a Punch List Item tap “Take Photo” or “Select Photo” at the top of the screen when viewing the Punch List Item.
5.6. Assign Punch List Items
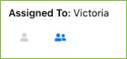
Figure 3. Assigning a Punch List Item to yourself
When viewing a Punch List Item, the “Assigned To” field shows who it is currently assigned to. To assign it to yourself, tap the single person icon. To assign it someone else, tap the two person icon and a list of people is displayed for selection.
5.7. Edit Punch List Item
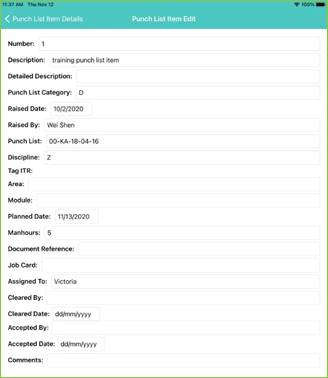
Figure 4. Editing a Punch List Item
When viewing a Punch List Item, tapping the “pencil” icon at the top of the screen opens the edit screen. The Comments and the Sign Offs are editable here, while all other fields remain locked.
The Punch List Item must be uploaded after editing for the changes to appear in hub2.
5.8. Sign Off Punch List Items
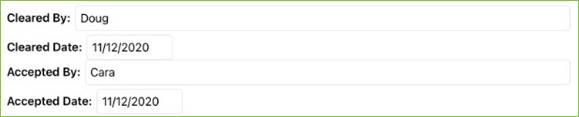
Figure 5. Signing off a Punch List Item
Punch List Items can be signed off through the Edit Punch List Item screen.
The Punch List Item must be uploaded after editing for the sign offs to appear in hub2.